

I bought a Kilner jar when I was in Winchester in May 2014 as I wasn't sure I could buy them in Jersey. Of course when I got home and actually ventured into Le Lievres, they had them in all of the sizes. It would have saved me time at airport security as they wanted to see my "jar of jam or chutney". It was actually fabric stuffed into my Kilner jar to save room as I was travelling hand luggage only, but only just!!
Now here's a tutorial to make a pin cushion jar using:
One Kilner jar which cost under £3. The small jar cost me £1.50
5" circle of fabric
3" circle of wadding - I used an iron on wadding
Scraps of wadding to stuff the pin cushion
Glue - I used glossy accents. diamond glaze would also work well. I wouldn't use a hot glue gun as the glue is too bulky.
Compass to draw the circles

Firstly I ironed the wadding into the centre of my 5" circle of fabric. This is from the Country Girls range by Riley Blake. I quilted the pin wheel in the centre and then tore up some scrap wadding to use as stuffing. I put some wadding behind the fabric to give it more firmness. Then I ran a large machine stitch 1cm in from the edge of the circle to gather the circle.

Gather the circle evenly until it's about the same size as the top.
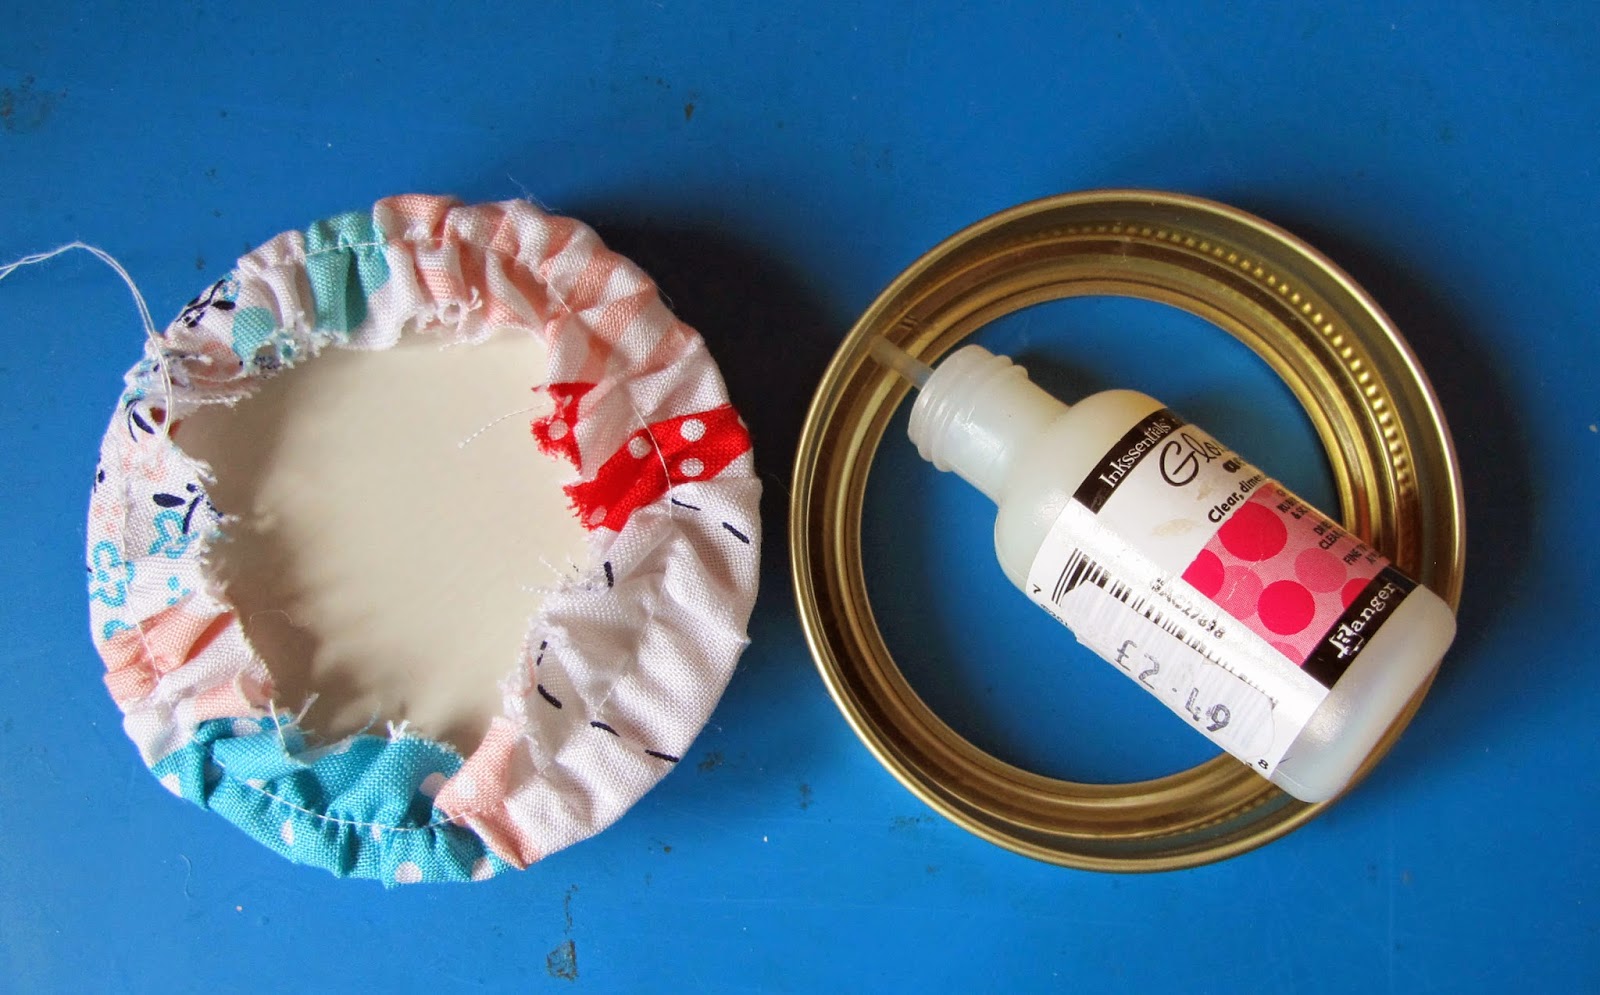
Stuff the inside of the pin cushion, insert the lid into the pin cushion and pull the threads tight. Turn the lid over to make sure you're happy that your design is central. Then run a thin bead of glue around the inside of the screw top lid. Drop the pincushion into the lid and screw it tightly onto the jar. This will help the glue set. Leave to dry for at least an hour.

I thought long and hard about how to finish the inside of the lid without adding to the bulk and I had a flash of inspiration. Take out the metal lid and glue it down. I put glue onto the fabric surrounding the wadding and also onto the metal part of the lid. Screw onto the jar again so as to set the glue. A seam ripper is useful for folding down the fabric and a cotton bud for clearing up any glue which lands where you hadn't planned!!

I think this method gives a neat finish.

I gave one of the jars for a birthday present to Jane and added a mini charm pack and a few Fat Quarters. You could add some washi tape, buttons and flowers to the belly of the jar, but I like it plain.
No comments:
Post a Comment